When you invest in new windows, you want to know that rain will stay outside and that you won’t feel air coming in around the frames when the weather turns cold. So how can you ensure your windows are properly sealed after installation so there are no gaps or breezy conditions?
Some window seal checks are straightforward. You can try the locks and look for weatherstripping that seems out of place or not installed correctly. Other details are covered by trim by the time the job is finished, which means you’ll need to ask the installer about them.
What’s Behind the Window Trim?
The trim around a window can look finished even though it tells you very little about the seal underneath. There’s a joint between the window frame and the surrounding opening, and the installation needs to address air movement through that space.
Ask your installer to explain how those connections were handled to ensure everything has been sealed properly. The answer will depend partly on the work you have done. Keeping an existing window frame and fitting a replacement inside it is different from removing the entire frame and working back to the rough opening.
A useful question is, “How did you seal around this window, and how does water drain away?” If the crew took photos before covering the opening, ask to see them. They can make the explanation easier to follow, especially when the finished surface hides most of the work.
Try the Windows Yourself
Before the installer leaves, spend a little time using each window. You’ll be the one opening it after a warm afternoon or locking it before bed, so it’s worth getting comfortable with the hardware now.
Start with normal operation. Open the window, bring it back into position, and lock it. If you’re unfamiliar with the style, have the installer show you how it works before assuming something is wrong.
But speak up if you have to struggle.
A sash that catches halfway down or needs a hard shove to close deserves attention. It may need an adjustment. Look along the edges while you’re there, particularly if a strip of weatherstripping appears loose, twisted, or trapped between moving parts.
On many windows, engaging the lock helps draw the sash snugly against the weatherstripping. Simply lowering or sliding the window shut may not put it in its fully sealed operating position.
A lock can help bring the sash into its designed closed position. Check for drafts with the window fully closed and locked, rather than resting loosely in the frame.
And don’t dismiss a sticking window. It may need adjustment, even if it looks fine.
Look Closely at the Finished Edges
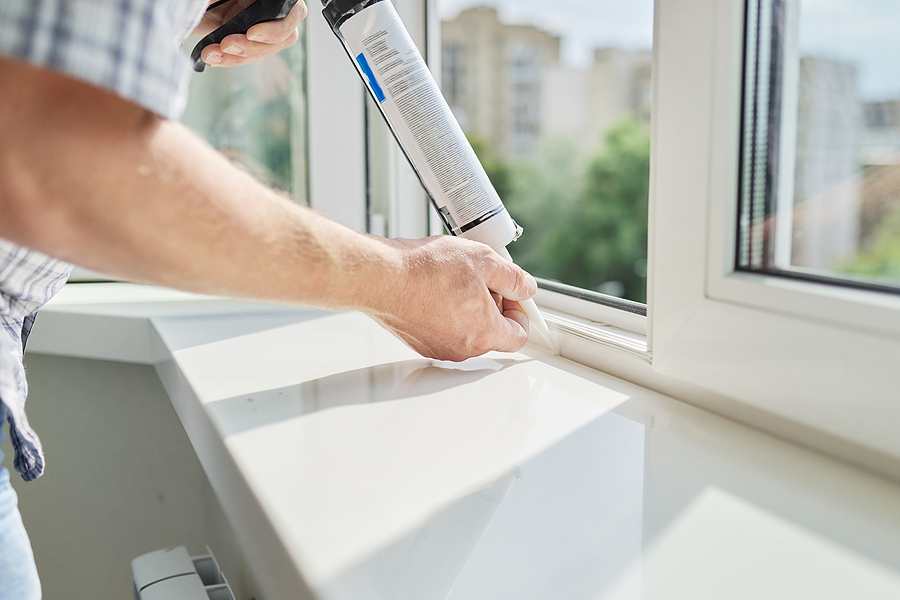
From a safe, accessible location, examine the joints around the window. Where sealant is required, it should adhere to the adjoining surfaces without obvious gaps or separation.
Point out anything questionable.
A gap beside interior trim may be a finishing issue, while an opening in an exterior weather seal can require a different response. The installer should help distinguish them.
Resist the urge to fill every opening yourself. Some windows have small drainage openings, often called weep holes, near the bottom of the frame. Those openings let collected water escape. Covering them with caulk can interfere with the drainage system.
Have the installer show you which openings are intentional. It’s a quick conversation that can prevent a well-meant repair from causing trouble later.
Check for Moving Air on a Windy Day
With the windows closed and locked, move your hand slowly around the sash edges and the area where the frame meets the interior trim. A noticeable stream of air deserves a closer look.
But cool glass isn’t proof of a leak.
On a cold Chicago day, indoor air can cool beside the glass and move downward. That can feel like a draft even when outside air isn’t entering through a gap.
Note where you feel movement and when it happens. Is it concentrated at one corner? Does it appear only during strong winds? Those details give the installer more useful information than saying the whole room feels cold.
A hand check is only a screening step. If the source remains unclear, a qualified professional can investigate further; formal air-leakage testing may be useful when ordinary checks don’t settle the question.
Pay Attention After Rain
Check the interior sill and nearby wall after rainfall, especially if the wind was blowing toward that side of the house. Look for fresh dampness or a new stain.
Take photos if you find anything, and contact the installer promptly. Include the time and weather conditions if you can.
Avoid blasting the window with a hose to test it yourself. An uncontrolled spray can force water into places that normal rainfall wouldn’t reach, leaving you with a confusing result. Suspected leaks are better investigated with an appropriate testing method.
Know Where the Moisture Is
Condensation sometimes gets mistaken for failed installation sealing. Moisture on the room-facing glass can develop when humid indoor air meets a cold surface. Outdoor condensation can occur under suitable weather conditions, too.
Neither automatically means the installation leaks.
Moisture trapped between panes is different. It can indicate a problem with the insulated-glass seal, which isn’t the same seal as the one around the window frame. Adding exterior caulk won’t repair that internal seal.
Describe exactly where the moisture appears when you ask for help.
Keep Your Installation Information Handy
Save your paperwork and warranty information, along with photos of any concerns. If something changes, contact the installer before altering the window or applying additional sealant.
To ensure your windows are properly sealed after installation, combine a careful walkthrough with observations during ordinary weather. Ask questions early, and leave the drainage openings clear.
If you’re planning window replacement in the Chicago area, contact Semko, Inc. to discuss your home and replacement window options.